The IUCLID feature Inventory - Import allows to import the file containing the EC Inventory. This has first to be downloaded from the IUCLID web site.
Note
The download and import of the EC Inventory is not necessary, if it was already imported when IUCLID was installed using the First steps wizard. However, you may wish to update the inventory from time to time.
To import the downloaded i5z file containing the EC Inventory
Click the Import link under Inventory in the Task panel.

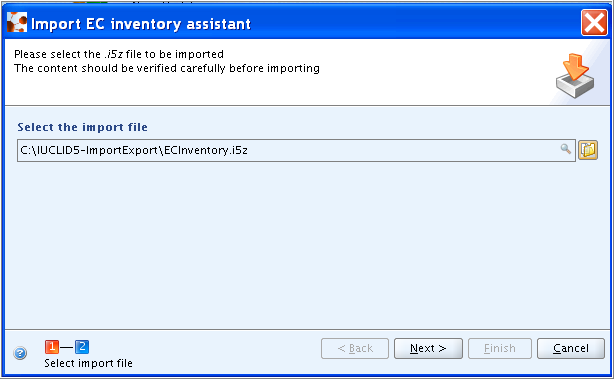
The Import EC Inventory assistant comes up. Select the input path and file name and verify by clicking the Next buttons in step 1 and 2 and the Finish button.
Tip
You can also launch the Import assistant by dragging the desired file from any file manager, e.g. Windows Explorer, and dropping it onto the Inventory - Import command in the Task panel.
Note
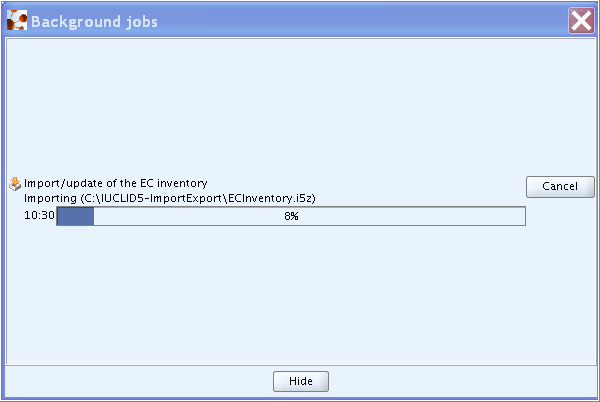
The import may take up quite a long time, depending on your machine speed and the amount of data you are importing. You can open the Background jobs indicator from the Window menu on the IUCLID menu bar to watch the import success.